Life is a bit discombobbled at the moment!
The living area of our house is being painted...as I type... & in the past few days I have been systematically emptying cupboards in order to move furniture. Consequently my house is a MESS! I didn't realise that I had so much STUFF! There is furniture stacked in every possible walking space & my current mantra is a reminder as to where I've put the teapot! Layered on top of that, I'm still coming back down to earth after a wonderful holiday.
When I sat down to do my weekly art project yesterday, I kept thinking about how magical it was to see so many Robins & Wrens hopping around when we were in Tasmania. We have neither (live) in our garden...
...and have to resort to fake ones instead! And so it was, that because we do have a fake Robin, I chose to have this bird as my muse this week.
Where to start????
With a blank page divided into sections & a few photographs to work from. Out came my copic pens & paints & a blissful period of total absorption! This is definitely a good way to take a break from the worries of everything else going on in ones life!!
The results of my efforts were these. I had noticed that the leaf shapes of the plants surrounding my little bird were a similar shape to feathers, so tried to incorporate this idea into an abstracted version of my Robin. I like the nest effect & wanted to keep that as part of the composition. It was also fun to play with colour options. We had seen both red & pink breasted Robins in Tasmania, whereas the Robins we had seen in the UK (where we lived for a few years) had been a more orangey red. All of these thoughts & memories visited me as I sought to create a design that could be achieved in contemporary reverse applique, within a 15cm square & not take the rest of my life to complete!!!!!!
When I got stuck, I did consider just having the brush cleaning paper as the 'result' of this week's project!!!
Finally I did decide on a design & then had to consider colour options from my fabric stash. I chose the third combination from the photos above. It provided some interest & also incorporated the rusty colour & the plant greens from my original starting point.
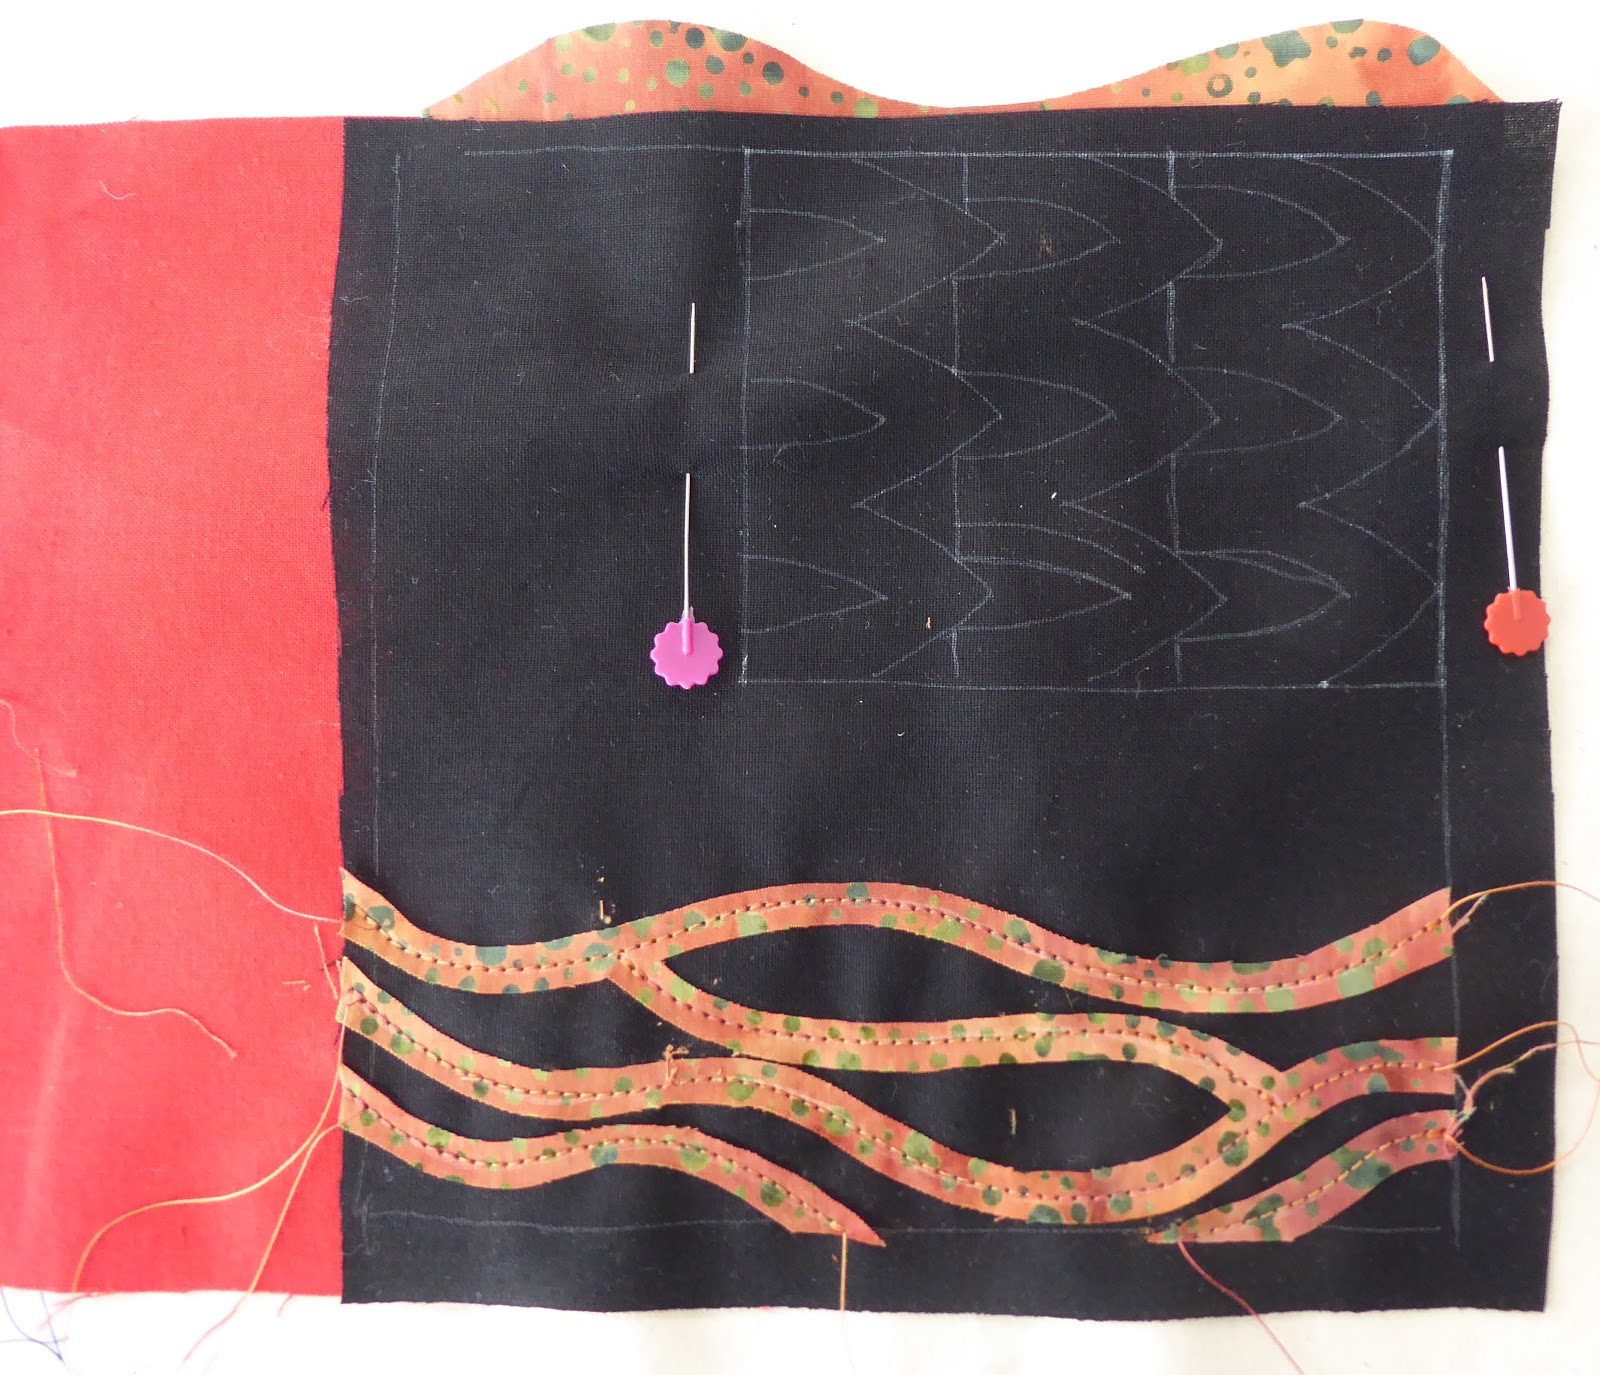
Fabric cut & ironed, layered & the first lot of lines sewn in & cut back. I had used the spotty fabric as my top most layer for that wonderful curvy nest. Before stitching in the next lot of lines, I made the most of my left over fabric to tuck in behind the top black layer. You will see why soon!! You will also notice that I have traced my sewing lines on with a white iron-out fabric marker. These pens are a god send. I don't know what I would do without them.
I am very happy with how I've used the spotty & black fabrics here. The photo doesn't show the dimensional effect, but there are 3 layers here, not 2! The plain, texture-less red was doing nothing for me though, so I got the scrap of red that I had previously cut away and layered it in top. Using the curved line of the red breast from my earlier explorations, I drew them in with the sewing machine & then cut them back.
This is the result & I'm very happy with it. It may not obviously say 'Robin In A Nest', but that's ok!
This is my 32nd WAP & I have really enjoyed this week's efforts! It has also reinforced to me the value of preliminary work, which is so useful as a piece progresses, to refer back to.


No comments:
Post a Comment